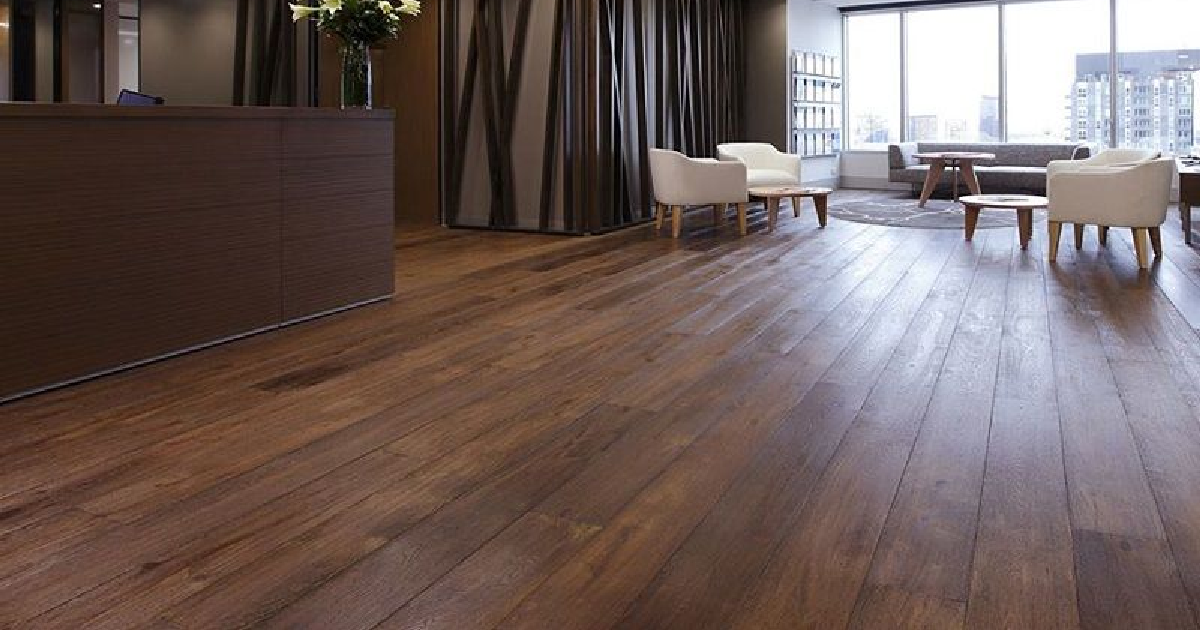
At Almaraz Hardwood Flooring, we specialize in providing top hardwood floor installation services that enhance the beauty and value of your property. Our commitment to excellence and attention to detail ensures that every project we undertake exceeds expectations. Whether you’re upgrading your home or renovating a commercial space, Almaraz Hardwood Flooring is your trusted partner for all things hardwood.
Hardwood floor installation is a transformative process that adds unparalleled beauty and value to any space. With its timeless elegance, durability, and variety of styles, hardwood flooring remains a top choice for homeowners and businesses alike. In this guide, we’ll explore everything you need to know about hardwood floor installation, from benefits and preparation to the installation process and maintenance tips.
Why Choose Hardwood Floor Installation?
Hardwood flooring is more than just a surface; it’s an investment in your property’s aesthetic appeal and functionality. Here are some compelling reasons to opt for hardwood floor installation:
- Timeless Beauty: Hardwood floors offer a classic look that complements any decor.
- Durability: With proper care, hardwood flooring can last for decades.
- Easy Maintenance: Hardwood floors are simple to clean and resistant to stains.
- Versatility: Available in various colors, grains, and finishes to suit personal style.
- Increased Property Value: Hardwood flooring significantly boosts your home’s resale value.
Types of Hardwood Flooring
When considering hardwood floor installation, you’ll encounter various options. Each type has unique characteristics to suit different needs:
1. Solid Hardwood Flooring
- Description: Made from a single piece of wood.
- Benefits: Long-lasting and can be refinished multiple times.
- Ideal For: Living rooms, bedrooms, and areas with stable humidity levels.
2. Engineered Hardwood Flooring
- Description: Consists of multiple layers of wood for added stability.
- Benefits: Resistant to moisture and ideal for basements or kitchens.
- Ideal For: High-moisture areas or homes with radiant heating systems.
3. Reclaimed Hardwood Flooring
- Description: Sourced from old buildings or barns.
- Benefits: Eco-friendly and offers a unique, rustic aesthetic.
- Ideal For: Those seeking sustainability and character.
4. Prefinished Hardwood Flooring
- Description: Comes with a factory-applied finish.
- Benefits: Quick installation and uniform finish.
- Ideal For: Busy households or commercial spaces.
Preparing for Hardwood Floor Installation
Proper preparation ensures a smooth installation process and long-lasting results. Here’s how to get ready:
- Assess Subfloor Condition: Ensure the subfloor is clean, level, and dry.
- Acclimate the Wood: Allow the hardwood to adjust to the room’s temperature and humidity for 48-72 hours.
- Clear the Space: Remove furniture, rugs, and appliances.
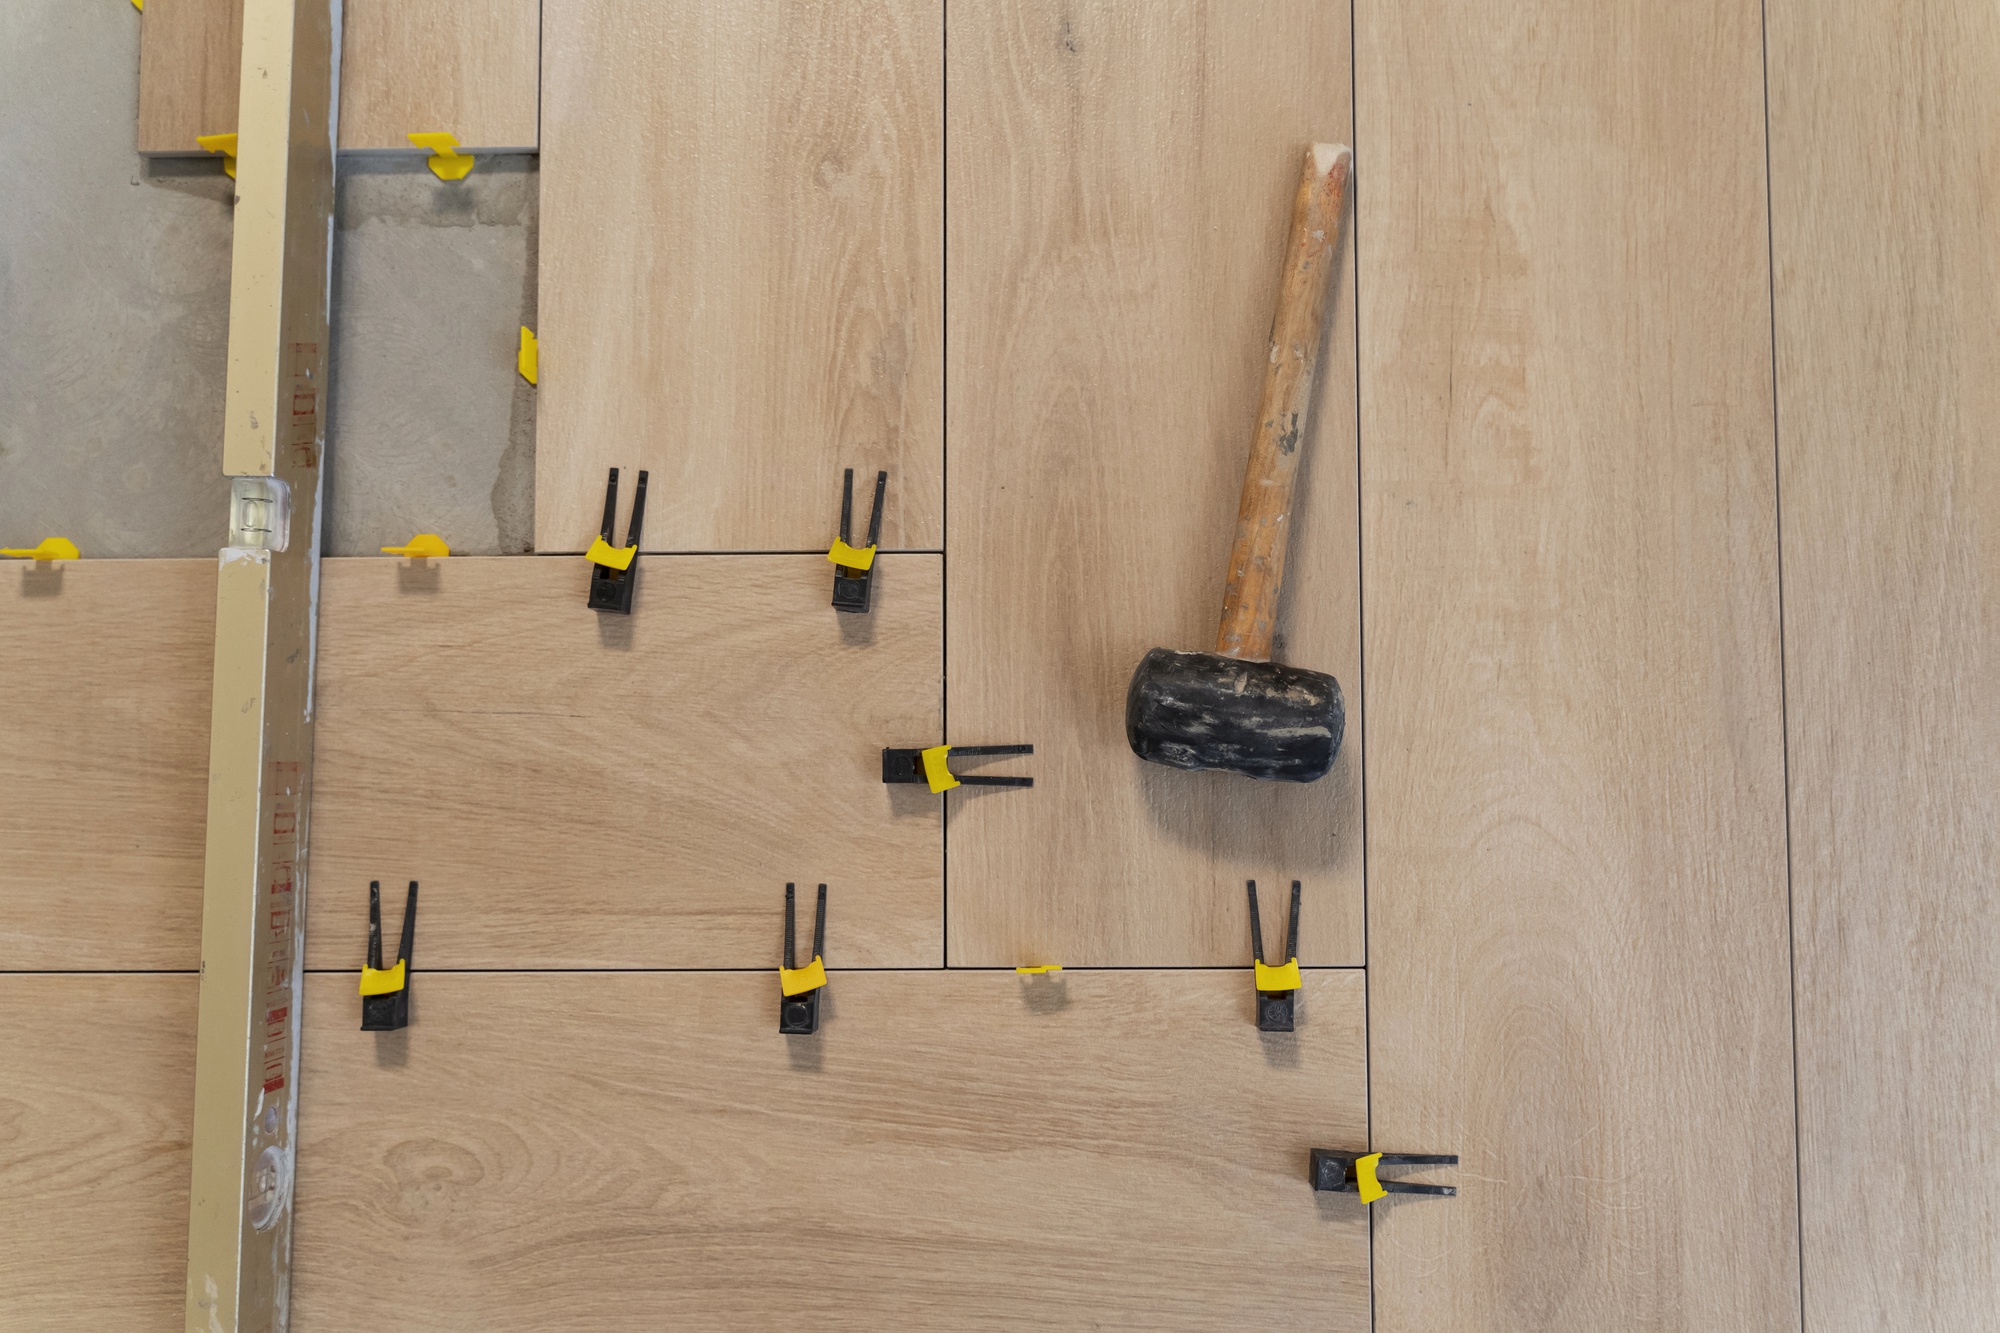
- Gather Necessary Tools: Professionals use specialized equipment like nail guns, saws, and spacers.
The Hardwood Floor Installation Process
Here’s a step-by-step overview of what to expect during hardwood floor installation:
1. Measurement and Planning
- Room Measurement: Determine square footage to calculate the amount of material needed.
- Layout Planning: Decide on the direction and pattern of the planks.
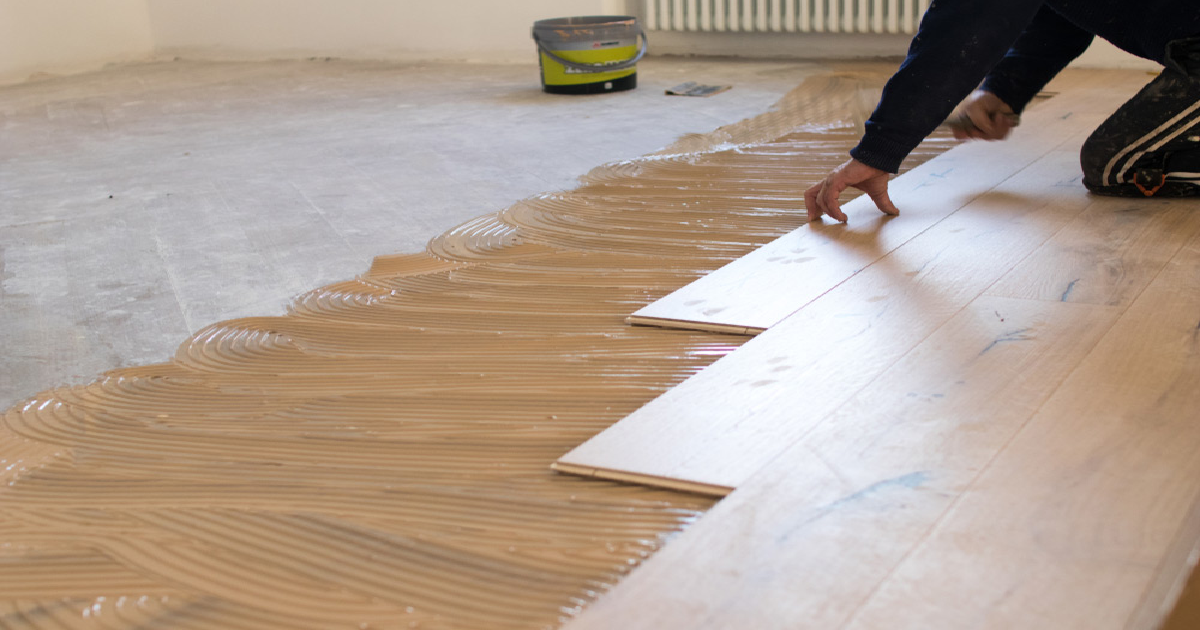
2. Subfloor Preparation
- Cleaning: Remove debris and old flooring materials.
- Leveling: Address uneven surfaces to ensure proper installation.
3. Installation
- Nailing or Stapling: For solid hardwood, planks are nailed to the subfloor.
- Glue-Down Method: Common for engineered hardwood, especially over concrete.
- Floating Method: Planks are locked together without attaching to the subfloor.
4. Finishing Touches
- Trimming and Edging: Install baseboards or shoe molding for a polished look.
- Inspection: Check for gaps or irregularities and make necessary adjustments.
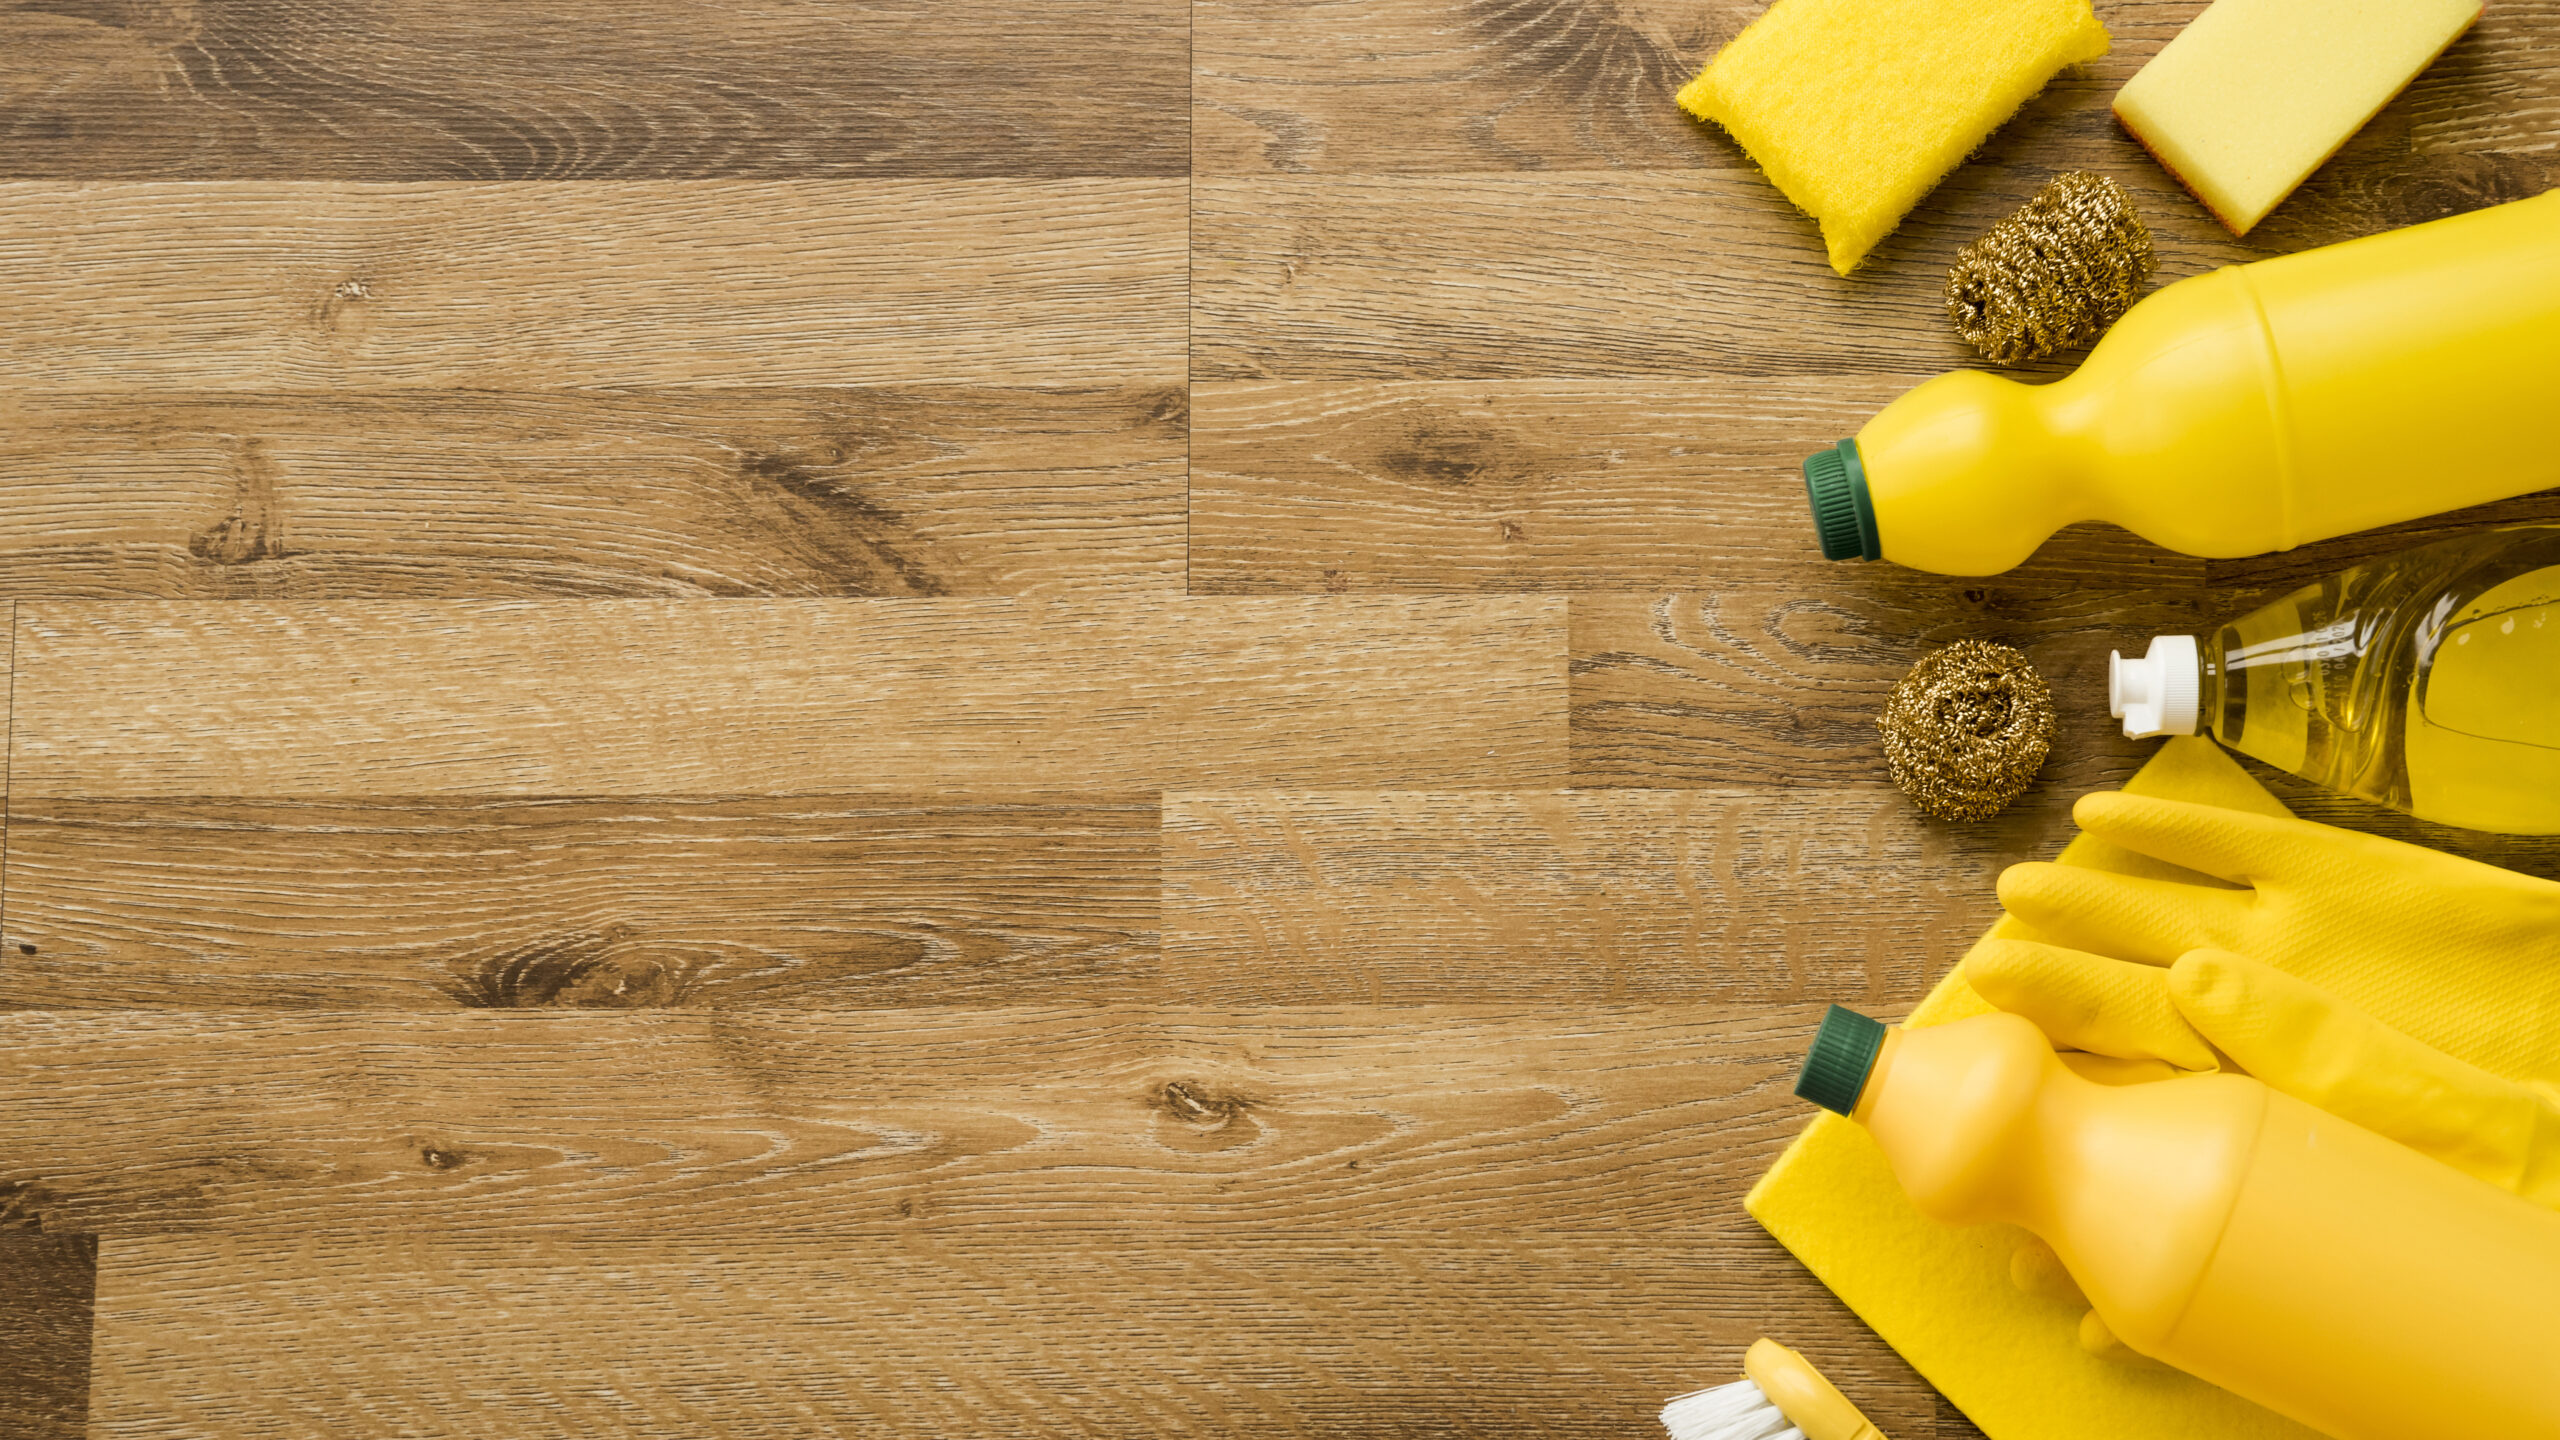
Maintenance Tips for Hardwood Floors
Once your hardwood floor installation is complete, proper care is essential to maintain its beauty and durability. Follow these tips:
- Regular Cleaning: Sweep or vacuum to remove dirt and debris.
- Use Rugs and Mats: Protect high-traffic areas from wear and tear.
- Avoid Excess Moisture: Wipe spills immediately and use a damp mop for cleaning.
- Recoat Periodically: Apply a fresh coat of finish every few years to maintain the surface.
- Control Humidity: Use a humidifier or dehumidifier to prevent warping.
Benefits of Professional Hardwood Floor Installation
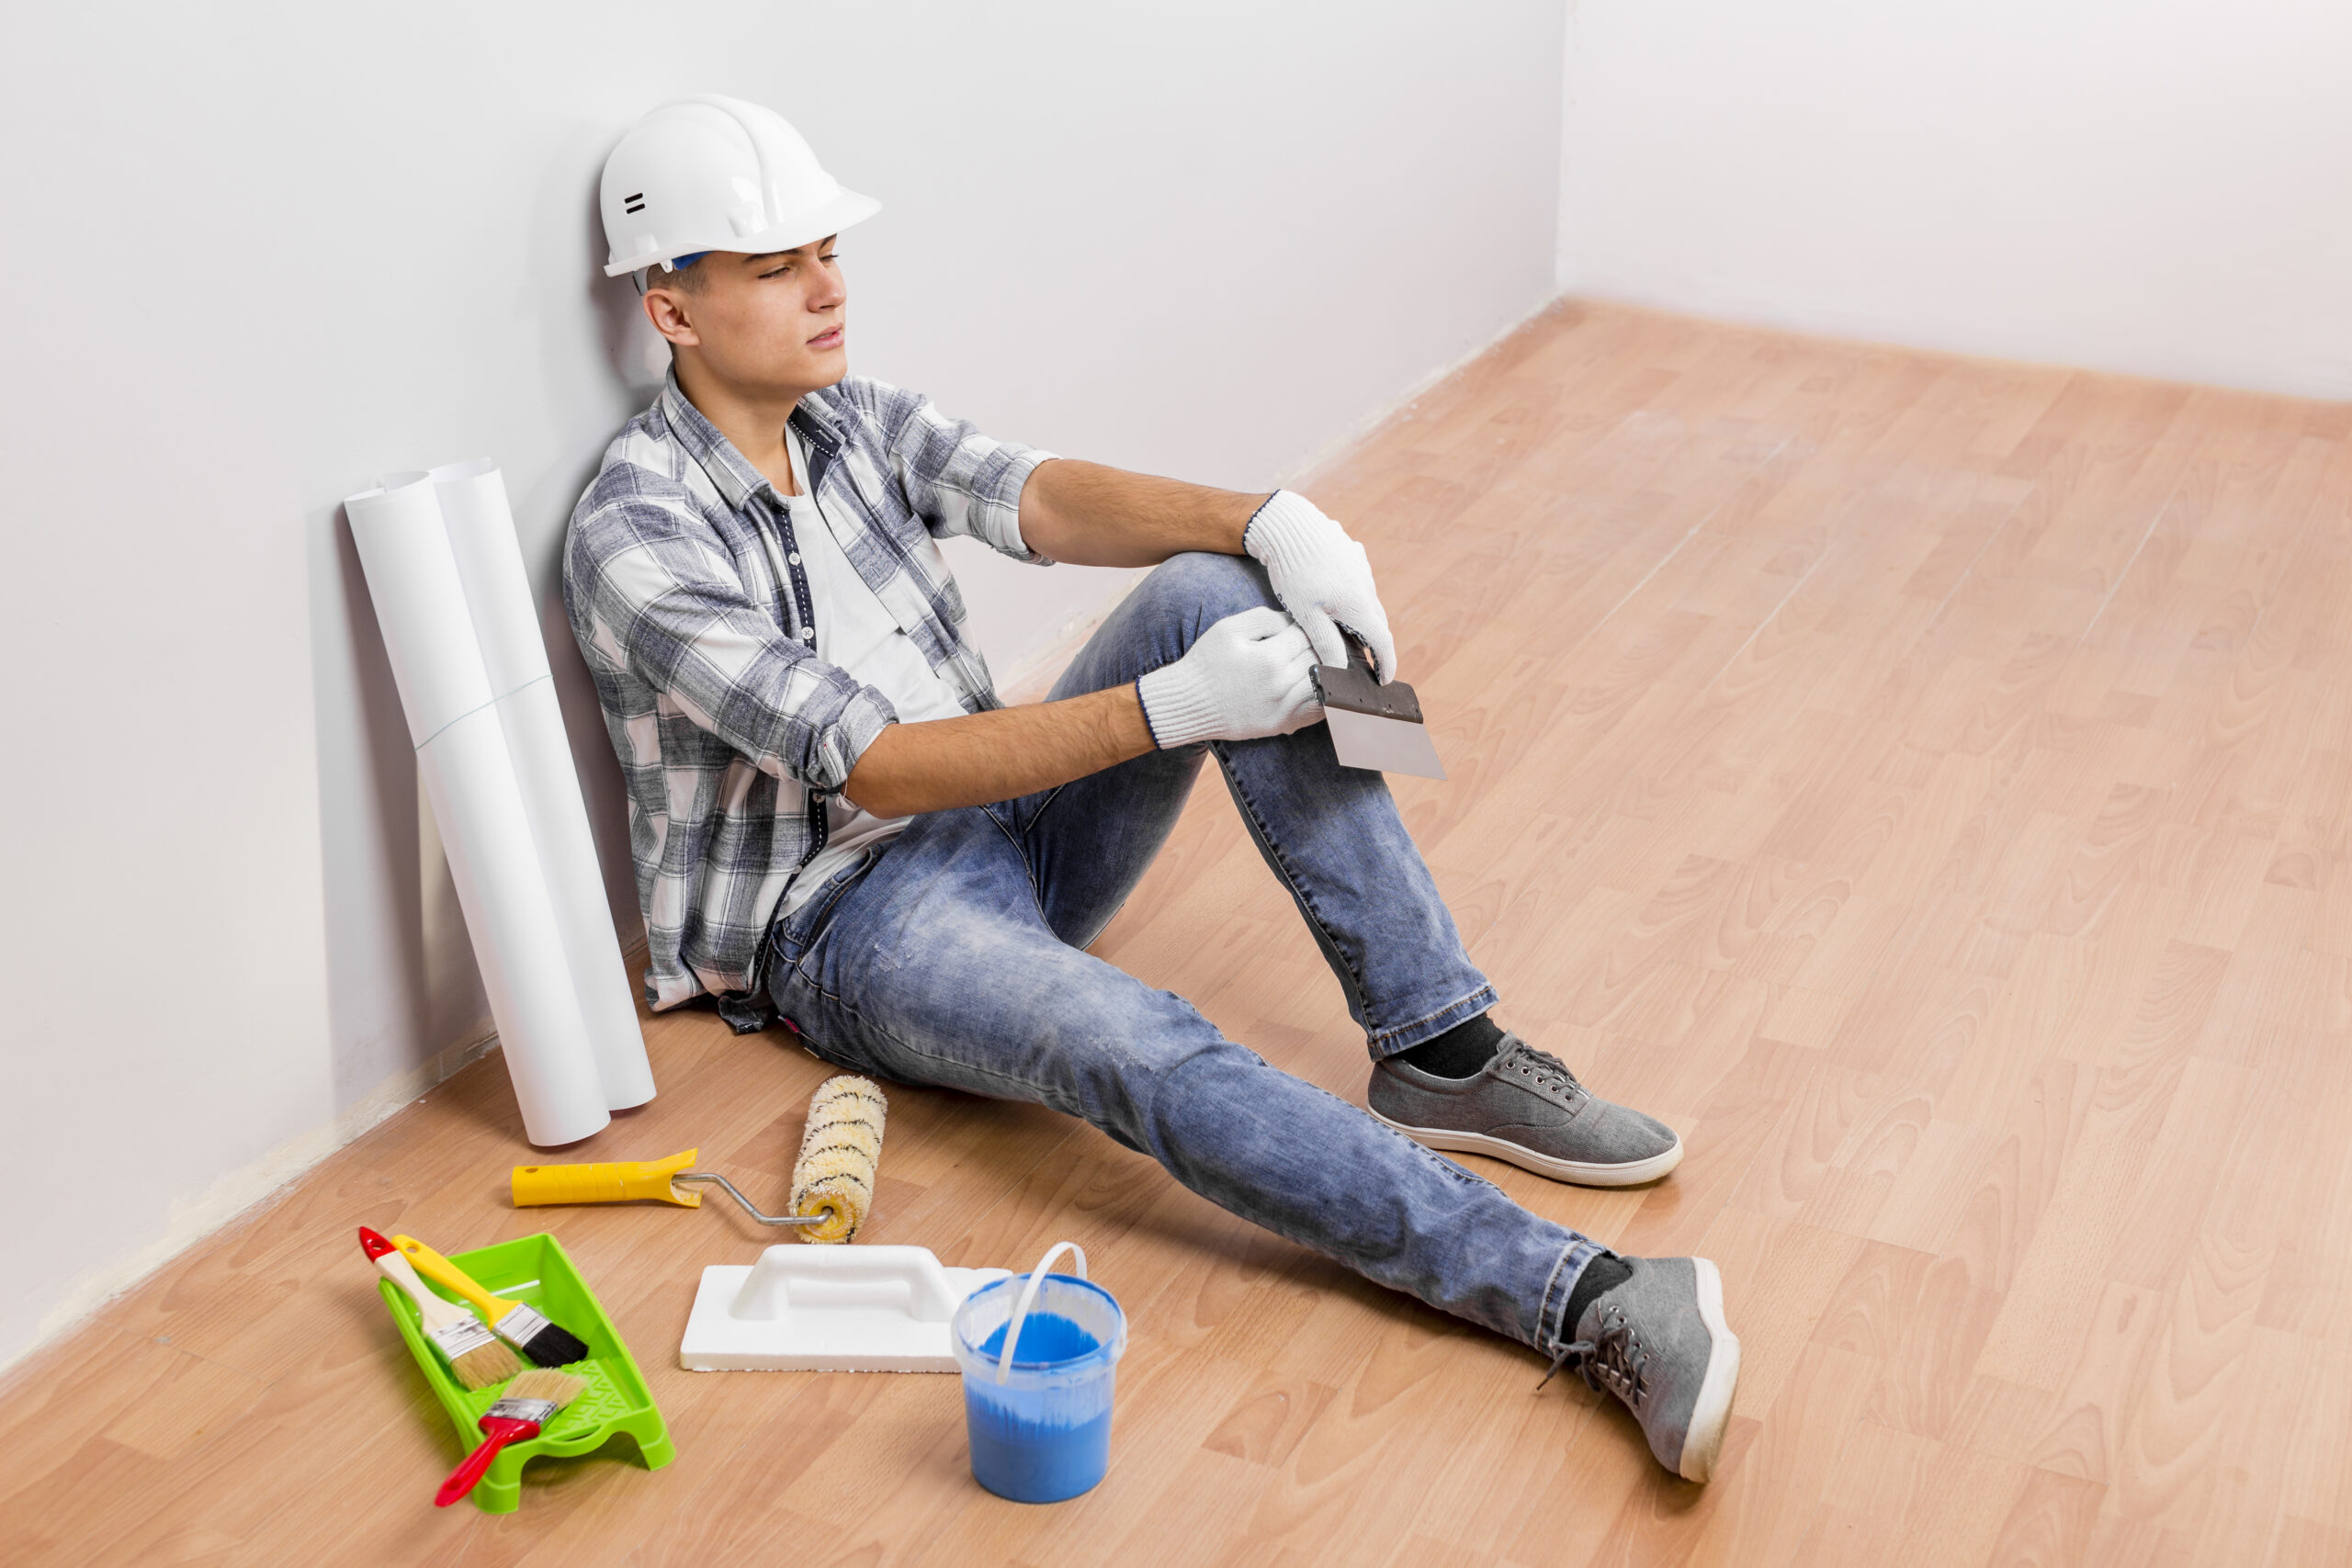
While DIY installation might seem tempting, hiring professionals ensures superior results. Here’s why:
- Expertise: Skilled technicians handle complex installations with precision.
- Efficiency: Professionals complete the job faster and with minimal disruption.
- Quality Assurance: Guarantees a flawless finish that lasts for years.
- Access to Tools: Advanced equipment ensures accurate cuts and seamless installation.
Hardwood Floor Installation in Aurora, IL
If you’re in Aurora, IL, and searching for reliable hardwood floor installation services, we’ve got you covered. Our team combines expertise and high-quality materials to deliver exceptional results. Whether it’s a residential or commercial project, we tailor our services to meet your needs.
Why Choose Almaraz Hardwood Flooring?
At Almaraz Hardwood Flooring, we take pride in offering unparalleled craftsmanship and customer service. Here’s what sets us apart:
- Experience: Years of expertise in hardwood flooring.
- Customized Solutions: Personalized designs to match your preferences.
- Affordable Pricing: Competitive rates without compromising quality.
- Customer Satisfaction: Committed to exceeding expectations.
Style Your Space with Hardwood Floor Installation
Whether you’re upgrading your home or renovating your office, hardwood floor installation is the perfect way to achieve a sophisticated and durable interior. From the initial consultation to the final plank, Almaraz Hardwood Flooring is dedicated to delivering excellence every step of the way.
Ready to elevate your space with professional hardwood floor installation? Contact us today to schedule a free consultation.
Frequently Asked Questions About Hardwood Floor Installation
Q: How long does hardwood floor installation take?
A: Installation typically takes 2-5 days, depending on the project size and type of flooring.
Q: Can I install hardwood floors over concrete?
A: Yes, engineered hardwood is suitable for installation over concrete.
Q: Is hardwood flooring pet-friendly?
A: Yes, with proper maintenance and protective measures, hardwood floors can withstand pet activity.
Q: How do I choose the right hardwood for my space?
A: Consider factors like room usage, style, and budget. Our experts can guide you through the selection process.