Thinking about new carpet but worried about the final bill? You’re not the only one asking, “how much should I expect to pay for carpet flooring?” It’s the biggest question for any homeowner, and getting a clear estimate for your carpet flooring cost is the first important step before you decide on anything.
This straightforward carpet installation guide for 2026 will walk you through prices, new trends, and the entire installation process without any confusing jargon.
Consider this your go-to resource for creating a comfortable, stylish home that fits your budget. Let’s dive in and get you the clarity you need.
Understanding Carpet Flooring Costs
Now that we’ve tackled the big question of getting an estimate, let’s look at what actually builds that final number. You might be wondering, “what factors influence the final cost of carpet flooring?” It’s not just about the carpet itself.
Think of it like buying a car. The base model is the carpet, but the final price includes the “add-ons” and “prep work.” The main things that affect your total carpet floor installation cost are:
- The carpet material you choose, like soft polyester or super durable nylon.
- The size and shape of your room. A simple square is easier than a room with lots of corners.
- The carpet padding underneath, which is like the mattress for your floor—it adds comfort and longevity.
- Any subfloor prep needed, especially if you’re installing carpet on concrete floor that might need leveling.
To give you a clearer picture, here’s a helpful table for 2026 estimates based on room size:
| Room Size (Sq Ft) | Average Total Cost of Carpet Flooring (Installed) |
| 500 (e.g., 2-3 bedrooms) | $2,000 – $4,500 |
| 1,000 (e.g., full basement) | $2,500 – $9,000 |
| 1,500 (e.g., entire apartment) | $3,000 – $13,500 |
Remember, these numbers are a starting point. The choices you make in the next sections will decide where you land in that range.
Carpet Installation Costs: Materials, Labor, and Extras
You’ve seen how room size and materials set the stage. Now, let’s pull back the curtain on the three main parts of your bill: the carpet itself, the work to put it in, and those little extras that can sneak up on you. It’s the difference between the price of the car and the final out-the-door cost.
First up is the labor cost to install carpet per square foot. This is what you pay the pros to handle the tricky work, like stretching the carpet perfectly and seaming it together so it looks perfect. This fee typically runs between $0.50 and $1.50 per square foot. So, for that 500 sq ft space we talked about, the average cost to carpet 500 sq ft in labor alone would be between $250 and $750.
But the carpet itself is the star of the show. Material prices vary wildly, but for most homes, you’re looking at $1 to $4 per square foot. Then there’s the padding ($0.25 – $1.00 per sq ft), which is non-negotiable for comfort and durability.
Now, for the “extras” many folks forget to ask about:
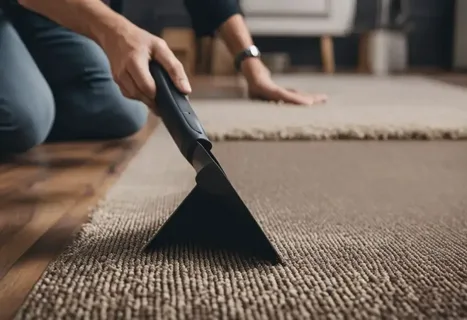
- Carpet removal and disposal: Getting rid of your old carpet ($0.50 – $1.50 per sq ft).
- Furniture moving: If you need the installers to handle this.
- Subfloor repair: Fixing any dips or cracks before installation, which is especially common when installing carpet on cement floor.
At this point, many people ask, “should I do the installation of carpet flooring myself?” While DIY can save a lot on labor, it requires special tools and a lot of patience to install the carpet flawlessly. For a guaranteed flawless finish, hiring experienced flooring carpet installers is often the less stressful path.
Room-Specific Carpet Flooring Costs
Now that we’ve broken down the labor and material bills, let’s get practical. The perfect carpet for your basement would be a nightmare in your living room, right? Different rooms have different needs, and that directly affects your carpet flooring per square foot cost.
So, “how much does it cost to carpet different rooms in a house?” Let’s walk through your home together.
Bedrooms are all about comfort. Here, you can prioritize a softer, plusher feel. Because it’s a low-traffic area, you can often choose a more budget-friendly material. Expect a total carpet flooring installation here to typically range from $1,000 to $6,000.
Living Rooms need to balance comfort with durability. This high-traffic area needs a carpet that can handle movie nights and family gatherings. Denser fibers like nylon are a great choice, with costs usually between $1,250 and $7,500.
Basements are a special case. Moisture is the enemy, so a moisture-resistant carpet and pad are must-haves. This specific need adds to the final carpet installation cost, which often falls between $1,350 and $8,100 for a standard basement.
| Room/Area | Typical Total Carpet Installation Costs |
| Bedroom | $1,000 – $6,000 |
| Living Room | $1,250 – $7,500 |
| Basement | $1,350 – $8,100 |
This table should give you a solid idea, but remember the factors we just discussed—the fiber you pick will ultimately decide where you land in that range.
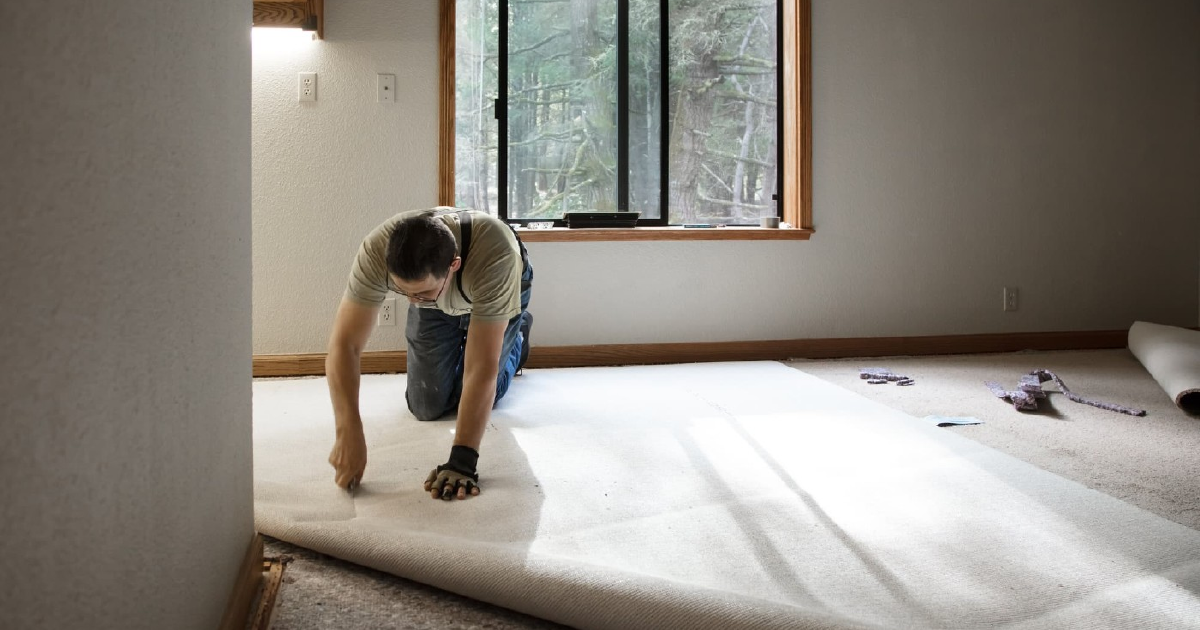
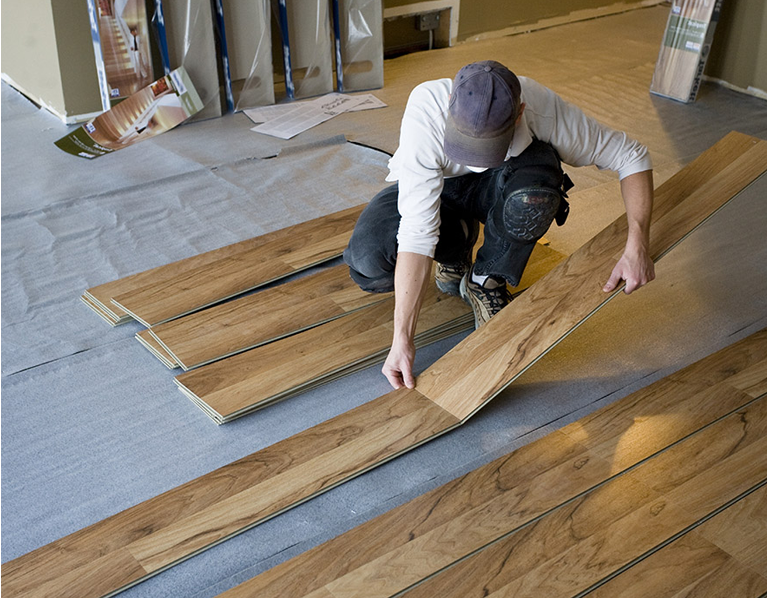
Steps Involved in Carpet Floor Installation
Knowing the costs for each room is great, but what does that price actually pay for? Understanding the steps involved in carpet floor installation makes understanding the whole thing a lot easier. It shows you why professional skill matters and helps you see what a DIY project would really entail.
So, “what does a professional carpet installation look like from start to finish?” Let’s walk through it.
Measure and Calculate Area
First, a pro will measure and calculate the area with precision. This isn’t just about length and width; they factor in room shape and pattern matching to ensure zero waste and a perfect fit.
Choose Carpet and Padding
Next comes the fun part where you get to choose your carpet and padding. This is where all the factors we discussed earlier, including material, durability, and comfort, come together to form your final selection.
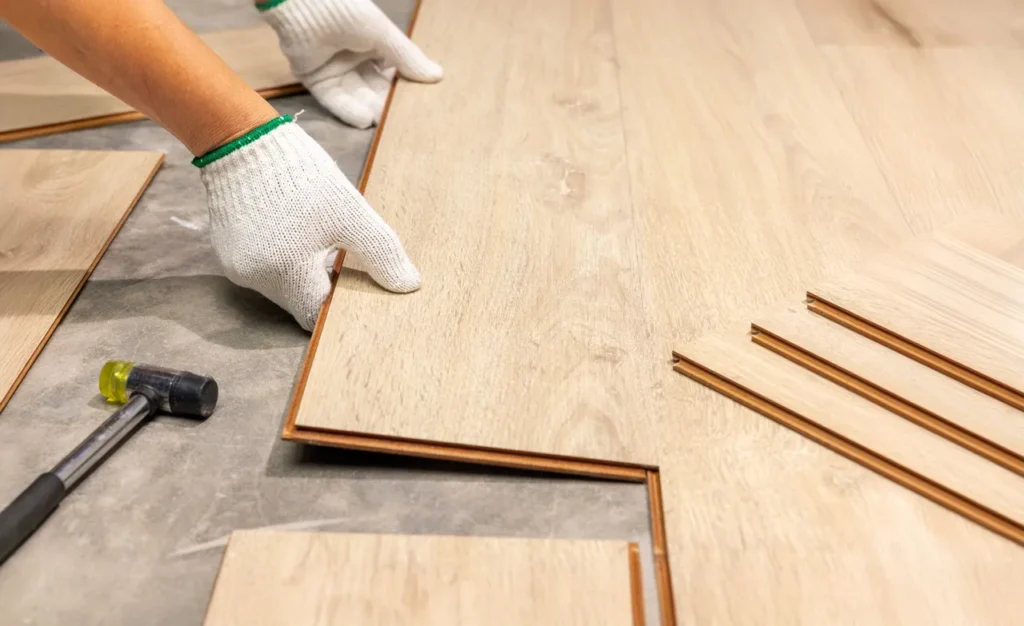
Prepare Subfloor (including installing carpet on cement/concrete floor)
Then, the crew prepares your subfloor. They clean it, check for moisture, and make any necessary repairs. This step is absolutely critical when installing carpet on a cement floor or concrete slab to prevent mold and ensure a level surface.
Cut and Lay Carpet
Now for the main event. They carefully cut and lay the carpet, maneuvering it around corners and doorways. Using special tools, they stretch and secure it tightly across the room. This eliminates wrinkles and bumps, giving you that smooth, professional look.
Trim Edges and Finish
Finally, they trim the edges and finish the job with precision, installing transition strips where the carpet meets other types of flooring. The last step is a thorough clean-up, leaving you with a beautiful new floor ready to enjoy. Following a thorough carpet installation checklist is what makes sure pros don’t miss any of these key steps.
Choosing the Right Carpet Fiber for Modern Homes
Now that you know how carpet is installed, let’s talk about the star of the show: the carpet fiber itself. This is where your personal style meets practical needs. You might be asking, “what is the best type of carpet fiber for my home and lifestyle?”
Let’s compare the most popular options. Think of it like choosing an outfit for your floor, because each fiber has a different job.
Nylon: This is the durable workout gear. It’s the toughest synthetic fiber, fantastic for resisting wear and tear from pets and kids. It bounces back from furniture dents and holds color beautifully, making it a top choice for busy living rooms and hallways.
Polyester: If you’re looking for softness on a budget, polyester is your pick. It feels wonderfully soft underfoot and has great stain resistance. While it’s not quite as resilient as nylon in high-traffic areas, it’s a perfect match for cozy bedrooms.
Triexta: This is the modern high-performance athlete. It’s naturally more stain-resistant than nylon and incredibly durable. Triexta is a superb choice for families, as it combines softness with serious spill-fighting power.
Wool: This is the natural, luxurious cashmere sweater. Nothing beats its natural feel and built-in durability. It’s a premium, eco-friendly option, but it comes with a higher price tag and needs more careful maintenance.
Here’s a quick guide to see how they stack up:
| Fiber Type | Feel & Best Use | Average Price per Sq Ft |
| Nylon | Durable; perfect for busy living areas & stairs | $3 – $8 |
| Polyester | Soft & budget-friendly; ideal for bedrooms | $2 – $6 |
| Triexta | Soft & stain-proof; great for family rooms | $4 – $7 |
| Wool | Luxurious & natural; best for low-traffic luxury spaces | $5 – $15+ |
Your choice here will be the biggest factor in your final carpet installation cost 2026 bring with it, balancing your desire for comfort with the practical needs of each room.
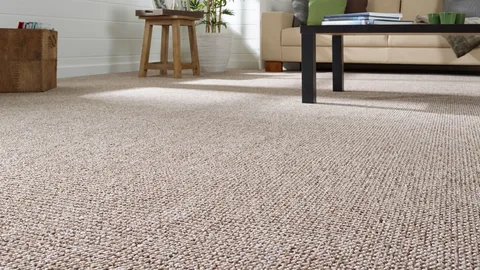
Carpet Flooring Trends 2026
Once you’ve picked your perfect fiber, the next question is often, “what will my new carpet look like?” The exciting carpet flooring trends 2026 are bringing are all about personality, wellness, and making smart choices for your home and the planet.
Gone are the days of boring, one-color carpets. Texture is taking center stage. Think chunky loops, dense friezes, and patterned styles that add visual interest and hide everyday life beautifully. These bold textures and patterns are perfect for defining spaces in an open-plan modern home.
But it’s not just about looks. What’s underneath is trending too. There’s a huge move towards sustainable fibers and eco-friendly options. Homeowners are loving carpets made from recycled plastics and natural materials. These choices are not only better for the environment, but they often come with the bonus of being hypoallergenic, locking away dust and allergens.
Color palettes are leaning towards earthy, calming neutrals like warm greys, beiges, and mossy greens. These tones create a serene backdrop that lets your furniture and art pop, perfectly matching the clean lines of modern home interiors.
How to Save Money on Floor Carpet Installation
Let’s be honest, after seeing all those trends and options, your next thought might be, “how can I make this more affordable?” The good news is that getting a beautiful new carpet doesn’t have to break the bank. Here are some simple ways to be smart with your budget.
First, think about where you really need that premium fiber. Plush wool is amazing, but a durable nylon or soft polyester might be perfect for your guest bedroom and save you a significant amount. Choosing synthetic fibers for low-traffic areas is a classic budget-saver.
Next, ask your retailer about in-stock or overstock rolls. These are ready to go and often discounted, saving you both time and money compared to a special order.
Finally, one of the most important steps is to get multiple quotes. Taking the time to compare detailed estimates from different flooring carpet installers ensures you get a fair price for the entire project.
Conclusion
From understanding the carpet flooring per square foot cost to exploring the latest 2026 trends, you now have a clear roadmap for your project. We’ve walked through how material choices, room sizes, and labor all shape your final budget. Remember, the right carpet combines your style with practical needs for daily life, creating a foundation of comfort and beauty for your modern home.
Ready to bring this vision to life? At Almaraz Hardwood Flooring, we specialize in Carpet Floor Installation with complete transparency. We provide a clear, upfront cost for your entire project and keep you informed every step of the way, so you always know exactly what you’re paying for. Give us a call at 804-510-0451 or visit our service page at https://almarazhardwoodflooring.com/flooring-services/floor-carpet-installation/ to learn more about how we can help create your perfect space.
Frequently Asked Questions
1. How much does it cost to have 1000 sq ft of carpet installed?
For a 1,000 square foot space, the total installed cost typically ranges from $2,500 on the lower end to $9,000 for premium materials and complex layouts, with a common average around $4,800.
2. How much does it cost to carpet a 12×12 room?
Carpeting a standard 12×12 room (144 square feet) usually costs between $288 and $1,152. The final price depends heavily on the type of carpet and padding you select.
3. What are the hidden costs of carpeting?
Common hidden costs include old carpet removal ($0.50-$1.50/sq ft), furniture moving fees, subfloor repair ($1-$2/sq ft), and new molding or transition strips, which can add significantly to your bill.
4. Is it cheaper to lay flooring or carpet?
Generally, carpet has a lower upfront cost than most hard surface options like hardwood or luxury vinyl plank. However, some laminate and sheet vinyl can be comparably priced to budget carpet.
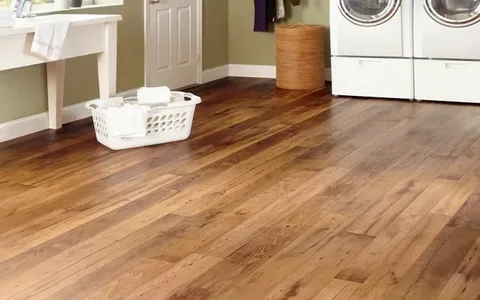
5. In what rooms is carpeting a poor choice?
Carpet is a poor choice for high-moisture areas like bathrooms and laundry rooms. For kitchens and dining rooms, hard surfaces are better as they are easier to clean from spills and food debris.