If you have ever looked at your laminate floors and thought, “They are beautiful, but I miss the soft warmth of carpet,” you are not alone. Many homeowners wonder if they can install carpet right over laminate flooring, and whether it is a smart long-term move.
The short answer? Yes, you can install carpet over laminate flooring, but only when done correctly. It’s a choice that blends comfort, style, and convenience, especially when guided by a professional carpet installer who understands subfloor structure and material compatibility.
In this guide, you’ll learn everything from the pros and cons to step-by-step expert installation tips, plus when it makes more sense to remove the laminate first.
Understanding Laminate Flooring Before Installing Carpet
Laminate flooring is a floating surface, meaning it is not glued or nailed down. It sits on top of an underlayment, allowing it to expand slightly with temperature and humidity changes.
This floating design is why installing carpet over laminate needs careful attention. If done wrong, the soft layers of carpet and padding can cause the laminate to shift, leading to wrinkles, squeaks, or uneven wear.
That is why most flooring contractors recommend inspecting your laminate first, a simple check that can save you from costly redos later.
Advantages of Installing Carpet Over Laminate
1. Saves Time and Labor Costs
You don’t need to tear out your laminate flooring, which means less mess, faster results, and lower flooring installation costs, which is a major win for homeowners.
2. Adds Instant Warmth and Comfort
If your home feels a bit cold underfoot, layering carpet over laminate adds instant coziness. With the right underlay, it even improves sound insulation, something every apartment owner and parent will appreciate.
3. Protects Existing Flooring
If you are renting or planning a renovation later, laying carpet over laminate is reversible. It protects your laminate from scratches, dents, and sunlight fading.
4. Perfect for Short-Term or Temporary Setups
For homeowners staging a property or tenants customizing a space, this method lets you get that “new floor” look without permanent changes.
Pro Tip: If you are planning to sell or rent your home soon, ask your local carpet installation service to use non-permanent tack strips instead of glue, which is easy to remove, easy to update.
Drawbacks to Consider
1. Laminate Movement Can Cause Carpet Ripples
Because laminate floats, it may flex slightly when stepped on. Over time, that movement can make carpet surfaces uneven if the underlay is too thick.
2. Possible Moisture Trapping
Moisture between the laminate and carpet can cause mold or swelling. Always ensure the room is well-ventilated and use a breathable underlay.
3. Height and Clearance Issues
Carpet and padding can raise floor height by half an inch or more. You might need to adjust door trims or baseboards to fit properly.
4. Limited Longevity for Heavy Carpet Types
Plush or high-pile carpets add more pressure to the laminate base, which can cause bending or squeaking over time.
Expert Advice: Always hire a certified flooring contractor who can assess the condition of your laminate and recommend the best carpet type to pair with it.
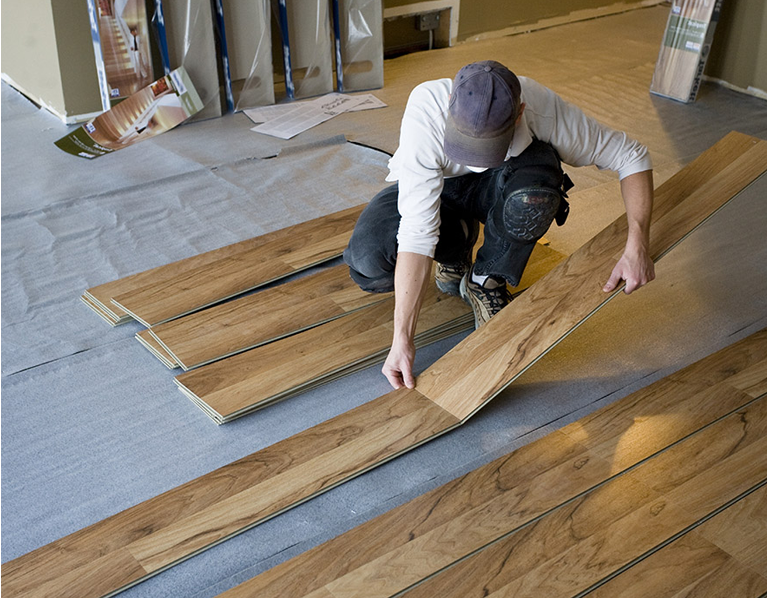
Step-by-Step: How to Install Carpet Over Laminate the Right Way
Step 1: Inspect Your Laminate
Check for loose planks, warping, or squeaks. If any section moves underfoot, secure it before starting.
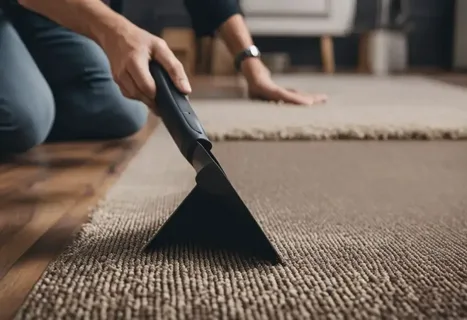
Step 2: Clean Thoroughly
Vacuum and wipe your laminate to remove dirt, dust, and residue. A clean base means a smooth, even carpet finish.
Step 3: Choose the Right Underlay
Go for a thin, firm, and breathable carpet underlay — rubber or dense foam works best. Avoid thick padding, which can make the floor unstable.
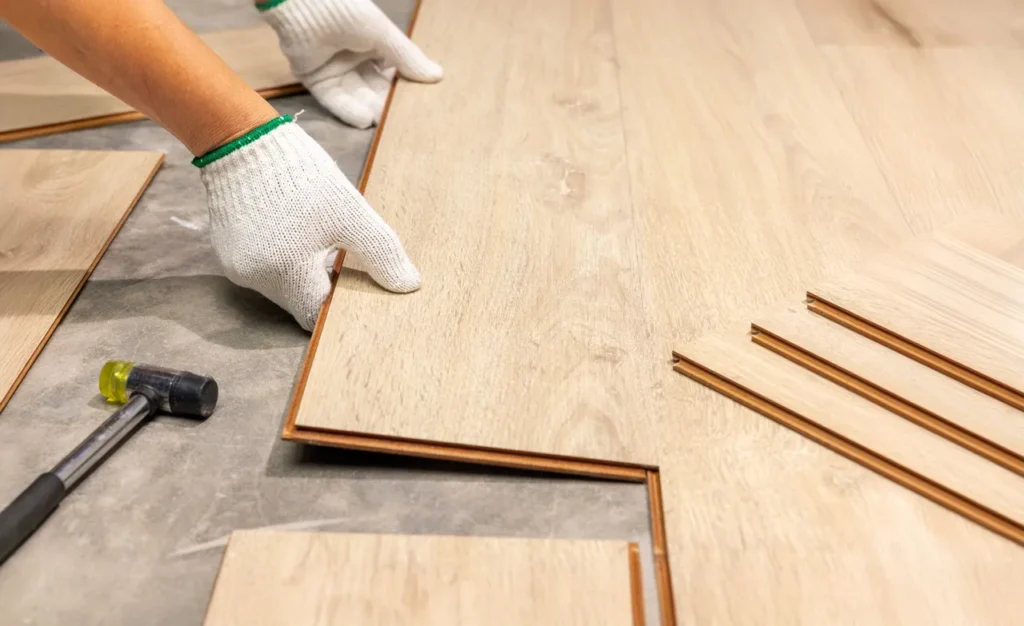
Step 4: Secure Tack Strips
Place tack strips along the room’s perimeter. These will hold your carpet in place without damaging the laminate below.
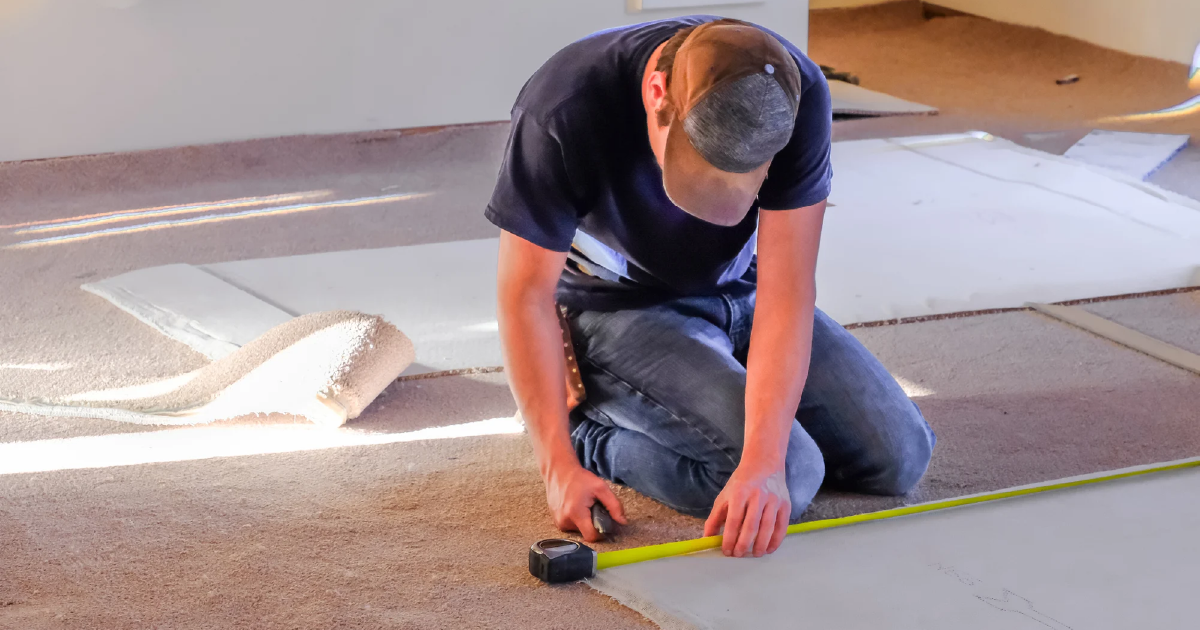
Step 5: Lay and Stretch the Carpet
Roll out the carpet over your underlay and stretch it tightly using a carpet stretcher. This eliminates ripples and ensures a professional-grade finish.
Step 6: Adjust Transitions and Trim
You may need to shave door bottoms or add transition strips for a polished look and safe walking surface.
Pro Insight: If this feels complex, search for carpet installation services that can complete the process in just a few hours, often with better results and warranty coverage.
When You Should Not Install Carpet Over Laminate
Skip this method if:
- Your laminate is swollen, uneven, or water-damaged.
- The room has high humidity (like basements or bathrooms).
- You are installing a permanent, wall-to-wall carpet that needs direct adhesion to the subfloor.
In these cases, removing the laminate first is safer and more durable. It ensures the new carpet lasts longer and stays perfectly smooth.
Tip: Ask your local flooring installation contractor for a quote on laminate removal because it’s often more affordable than you think, and they’ll prep the subfloor properly.
Smart Alternatives
Not ready for full carpeting? Try these instead:
- Area Rugs: Add warmth and texture without permanent installation.
- Carpet Tiles: Great for DIYers; easy to remove or replace later.
- Layered Rugs: Combine patterns and materials for a cozy designer look.
Quick Comparison
These give your home that “soft underfoot” feel, minus the full installation process.
Factor | Carpet Over Laminate | Carpet After Removing Laminate |
| Cost | Lower | Higher |
| Durability | Moderate | Excellent |
| Moisture Safety | Needs Care | Safer |
| Ideal For | Renters / Temporary setups | Permanent installations |
Final Thoughts
So, can you install carpet over laminate flooring? Yes, if you do it in the right way. It is an easy, cost-effective way to refresh your space and add comfort without removing your existing floor. Just remember: success depends on condition, underlay, and installation quality. Always hire a local flooring contractor or professional carpet installer who can save you from uneven results or long-term wear.
If you love the warmth of carpet but want to keep your laminate safe, consult a flooring expert before starting. They’ll help you choose the right materials and make your living space look flawless.